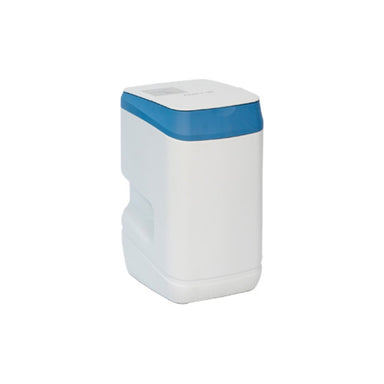
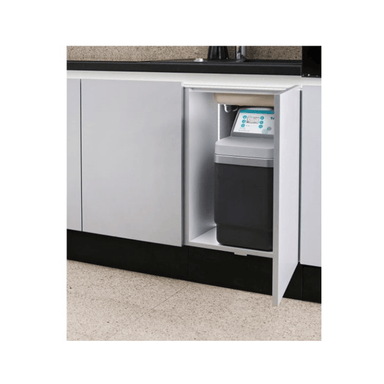
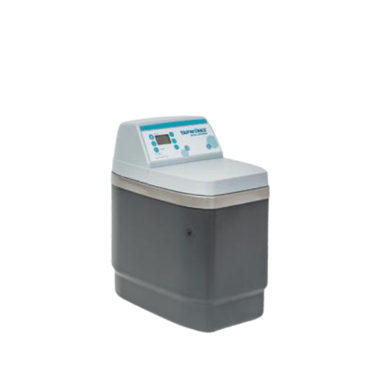
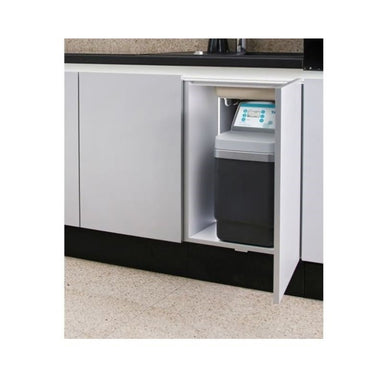
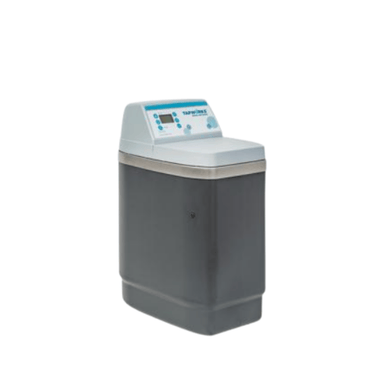
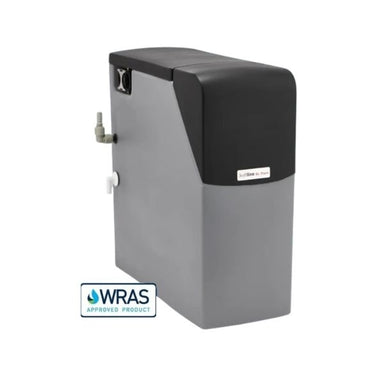
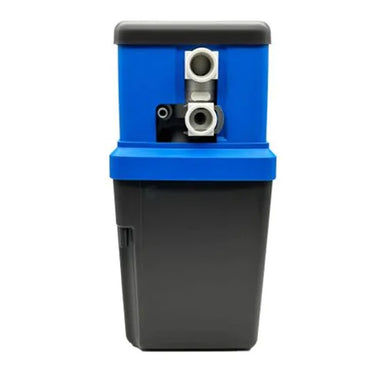
Choosing the right water softener can seem confusing at first, but this guide makes it simple. It explains how to check your water hardness, select the right system size, and choose the most practical place for installation. By the end, you will know exactly what to look for and feel confident in choosing a water softener that suits your home perfectly.
Before choosing a system, it’s important to understand how hard your water is. Use the checker below to see the typical hardness level in your area.
Check your water hardness
Hardness varies across the UK. Enter your postcode (e.g., SW1A 1AA or B75) to see your area’s typical hardness and get sizing guidance.
Choosing the Right Size Softener
Selecting the correct size is about matching people, bathrooms, and water hardness. Too small and it regenerates too often; too large and you pay for capacity you rarely use. The goal is balanced performance and efficiency.
Multiply your household’s daily use (around 140 L per person) by your hardness level (mg/L or ppm) to estimate your daily hardness load. You can then fine-tune your softener’s capacity for maximum salt efficiency.
- ✅ Go by your busiest times, not your quiet ones.
- ✅ Metered/demand systems regenerate only when needed, saving salt and water.
- ✅ Non-electric models use water pressure instead of power, offering ultra-reliable performance when correctly sized.
- ✅ Homes with 3+ bathrooms or frequent simultaneous use should consider sizing up.
Next, consider where your softener will be installed for the best performance.
Water Softener Installation Locations Compared
Installation location plays a key role in the performance, maintenance, and lifespan of your water softener. The table below compares the five most common areas where a water softener can be installed e.g. under the sink, in a utility room, garage, cellar, or outdoor cabinet. This should help you identify the ideal location for reliable performance and long-term protection.
| Criteria | Under Sink | Utility Room | Garage | Cellar / Basement | Outdoor Cabinet |
|---|---|---|---|---|---|
| Near mains water entry | |||||
| Easy access for maintenance | |||||
| Space for larger units | ✕ | ||||
| Protection from frost | ⚠️ | ⚠️ | ✕ | ||
| Good access to drainage | ⚠️ | ||||
| Hidden / quiet operation | ⚠️ | ||||
| Suitable for large homes (3+ bathrooms) | ✕ | ||||
| Ease of installation | ⚠️ | ||||
| Ideal for small homes / flats | ✕ | ✕ |
Installing your own water softener? Make sure you get the fundamentals right.
Installation Essentials
Every reliable water softener installation follows a few key components to ensure safe operation, easy maintenance, and full compliance with UK Water Regulations. Here’s how the main fittings — the bypass valve, drain connection, and overflow pipe — come together to form a complete, compliant installation.
🔁 Bypass Valve Set
The bypass valve allows you to isolate or service the softener without interrupting the household water supply.
- Fit a three-valve setup (inlet, outlet, bypass).
- Label each valve clearly for simple operation.
- Keeps water flowing even during maintenance.
💧 Drain Connection
The drain connection safely removes wastewater produced during regeneration.
- Connect to a sink trap, standpipe, or trapped gully.
- Always include a visible air gap to meet Water Regulations.
- Ensure the hose runs downhill without kinks or loops.
🚰 Overflow Pipe
The overflow pipe provides a fail-safe route for any excess brine.
- Must discharge to a visible, safe point, ideally outside.
- Use rigid ½" tubing with a continuous fall.
- Prevents backflow or accidental flooding.
Hopefully, you now have a clear understanding of your water hardness, sizing, and installation options, you’re ready to choose a softener that delivers lasting performance and value.
Ready to find your perfect water softener?
Explore our full range of reliable, high-performance softeners designed for every home size and hardness level.
View All SoftenersWhat are the space, drain and power requirements for installation?
You need adequate space (for the unit and salt refilling), a drain/standpipe with fall for discharge, and if electric, a nearby socket.
Does the softener need a bypass valve set and why?
Yes — a bypass set (inlet, outlet, bypass) allows water supply continuity during maintenance without shutting down the house supply.
Can a water softener be installed outside or in a flat/apartment?
Yes, but outside units must be in a weatherproof, frost-protected housing; flats must ensure independent supply and access.
How long does a typical installation take?
For a standard home with good access it usually takes about 2–4 hours; longer if pipework or mains entry is difficult.
Where should the drain/overflow be routed during installation?
The regeneration waste should go to a suitable outlet (sink trap, standpipe, gully) with a visible air-gap for safety; overflow should be visible and safe.
Not sure which system will suit your home best? Our friendly team is here to help. Contact us by phone on 0121 630 1130, email info@regalflow.co.uk, or message us on WhatsApp via the green icon.
