Reverse Osmosis System Connections: A Complete Guide to Installation, Maintenance, and Performance
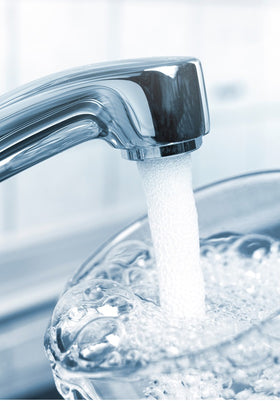
Ever wonder why your reverse osmosis system isn't delivering pure, crisp water? It’s all about the connections! From tubing to fittings, the right setup makes all the difference. In Reverse Osmosis: Specialised Topics and Advanced Insights, we break down how proper connections—and even countertop dispensers—ensure your system runs smoothly, delivering clean water every time.
Understanding RO System Connections
Getting to grips with reverse osmosis connections is crucial if you want your system to perform optimally. These connections are the channels that link all the components of your system together. Think of them as the veins in the body, carrying water through each stage of the filtration process. Without proper connections, your system won’t work efficiently, and worse, it might leak!
Types of Connections and Fittings
RO systems come with a variety of connection types, each designed to ensure secure, leak-free links. The most common are push-fit connectors, compression fittings, and quick-connect fittings. Push-fit connectors are often used for their simplicity, while compression fittings tend to offer a more robust connection. Whichever type you use, make sure it’s compatible with your system’s specifications.
Importance of Proper Connections
A solid connection is vital for the longevity and performance of your RO system. Loose or poorly fitted connections can cause leaks, reduce water pressure, and even disrupt the filtration process, leading to impurities sneaking through. Taking the time to make sure your connections are tight and secure can save you a lot of trouble in the long run.
Step-by-Step Connection Guide
Setting up your RO system properly from the start can prevent headaches later on. Let’s walk through the steps so that you can get your system up and running without a hitch.
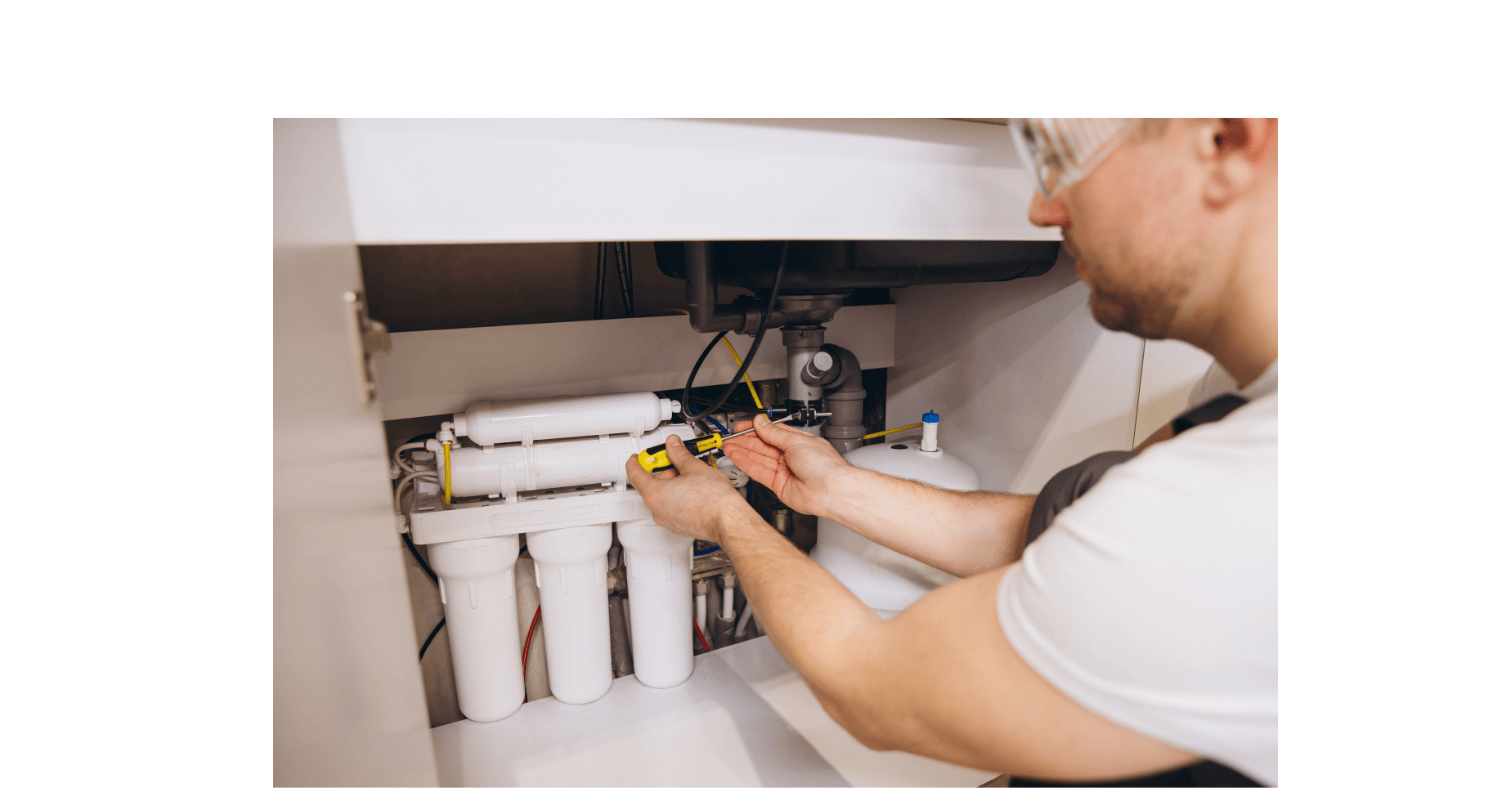
Installation Procedures
-
Mount the Membrane Housing: This is where the magic happens, so ensure the membrane is properly secured beneath your sink.
-
Connect the Tubing: Attach the cold water supply line to the system, then connect the tubing from the storage tank and the faucet. Ensure there’s no twisting or kinks that could block water flow.
-
Secure the Drain Line: The drain line must be connected to your sink’s drain pipe. Be sure to check that it's well sealed to prevent leaks.
-
Install the Faucet: A sleek and easy-to-use faucet is key for getting clean water on demand. Use Teflon tape to ensure the threads are sealed tightly and won’t drip.
By following these steps, your RO system should be set up to deliver purified water every time.
Troubleshooting Connection Issues
Even with the best installation, problems can crop up. Here's how to address them:
-
Leaks: If you notice water pooling under the sink, check the fittings. Tighten any loose connections and replace any damaged O-rings.
-
Slow Flow: This could be due to a blocked line or an incorrectly sized filter. Ensure everything is clear and properly connected.
-
Contaminated Water: If the water is still tasting off, inspect the filters and membranes for wear and tear. A quick replacement can solve the issue.
Getting your connections right is key to avoiding these common issues.
Tools and Materials Needed
Before diving into the installation, it’s important to have the right tools and materials at hand. Having everything ready can make the job go much more smoothly.
Essential Equipment for Installation
-
Wrenches for tightening fittings without damaging components.
-
Teflon tape to seal threads and prevent leaks.
-
Flexible tubing that fits the specifications of your system.
-
Bulkhead adapter to connect the drain line securely.
These tools ensure your connections are properly fitted and minimise the risk of leaks.
Safety Precautions
Don’t underestimate safety. Always turn off your water supply before starting any work, and wear gloves to protect your hands from sharp edges or dirt. Work in a dry area to avoid any electrical accidents if you’re handling electrical components.
Maintaining System Connections
Installing your RO system is only half the battle. Regular maintenance is key to ensuring it continues working like new for years to come.
Regular Inspections and Maintenance
Check your system's connections at least once every three months. Look for signs of leaks, wear, or any blockages. If you notice any problems, it’s better to address them sooner rather than later.
Preventing Leaks and Damage
Leaks can quickly escalate from a minor inconvenience to a costly repair. Tighten fittings regularly, replace worn-out O-rings, and keep an eye on any areas that might be prone to wear, like the membrane housing. By staying on top of small issues, you prevent bigger problems from arising.
Optimising System Performance
For your RO system to continue providing high-quality water, it’s crucial to optimise its performance.
Ensuring Proper Water Flow
Proper water flow is the lifeblood of any RO system. Ensure your tubing is straight and free of kinks to avoid restricted flow. Also, clean the filters on schedule, as clogged filters can lead to a decrease in water pressure and quality.
Avoiding System Failures
To avoid system failures, use high-quality parts for your connections. Cheap or poorly fitted components can lead to leaks, inefficient filtration, or even complete system breakdowns. Also, make sure your RO system is installed correctly from the start to prevent costly repairs later on.
Conclusion: Ensuring Secure RO System Connections
Properly installed and maintained connections are key to the success of your RO system. Whether you're setting up a new system or performing routine maintenance, it’s important to ensure that all connections are secure and leak-free.
Key Takeaways on System Installation
-
Use high-quality fittings that are compatible with your system.
-
Follow the manufacturer’s instructions for the best results.
-
Inspect connections regularly to catch leaks and wear early.
Final Recommendations
When it comes to maintaining your RO system, don’t cut corners. Invest in quality parts, keep an eye on your system’s connections, and replace any worn components promptly. By doing so, you’ll ensure that your reverse osmosis system works smoothly for years to come, providing you with clean, safe water whenever you need it.
More Reverse Osmosis info we think you'll love
Reverse Osmosis Filter Replacement Service
Reverse Osmosis Power Consumption
Reverse Osmosis System Water Quality
When to Change Reverse Osmosis Filters
Reverse Osmosis Countertop System
Tankless Reverse Osmosis System
Reverse Osmosis Water Filter for Aquarium
Can Reverse Osmosis Remove Bacteria?
How to Fix Low Water Pressure in a Reverse Osmosis System
How to Remove Air from a Reverse Osmosis System
Leave a comment