
How to Clean Countertop Water Dispenser Filters at Home
Ever noticed your water tasting... weird? Your countertop dispenser filter might be screaming for a clean! Short answer: Soak, scrub, rinse, repeat. It’s easy, saves money, and keeps your water fresh. Keep reading for hassle-free tips on Installation and Maintenance of Countertop Water Dispensers—because no one likes murky mystery water!
How to Clean Countertop Water Dispenser Filters at Home
Introduction: Maintaining Filter Effectiveness
Ever taken a sip of water and thought, Why does this taste... a bit off? If so, your water dispenser filter might be crying out for a clean.
Filters work hard to trap dirt, sediment, and all sorts of invisible nasties. But when they get clogged, your water can end up tasting stale, slow to pour, or even slightly funky. Luckily, keeping your filter in top shape is easier than you think—and it saves you money on replacements!
Let’s break down how to keep your dispenser working at its best.
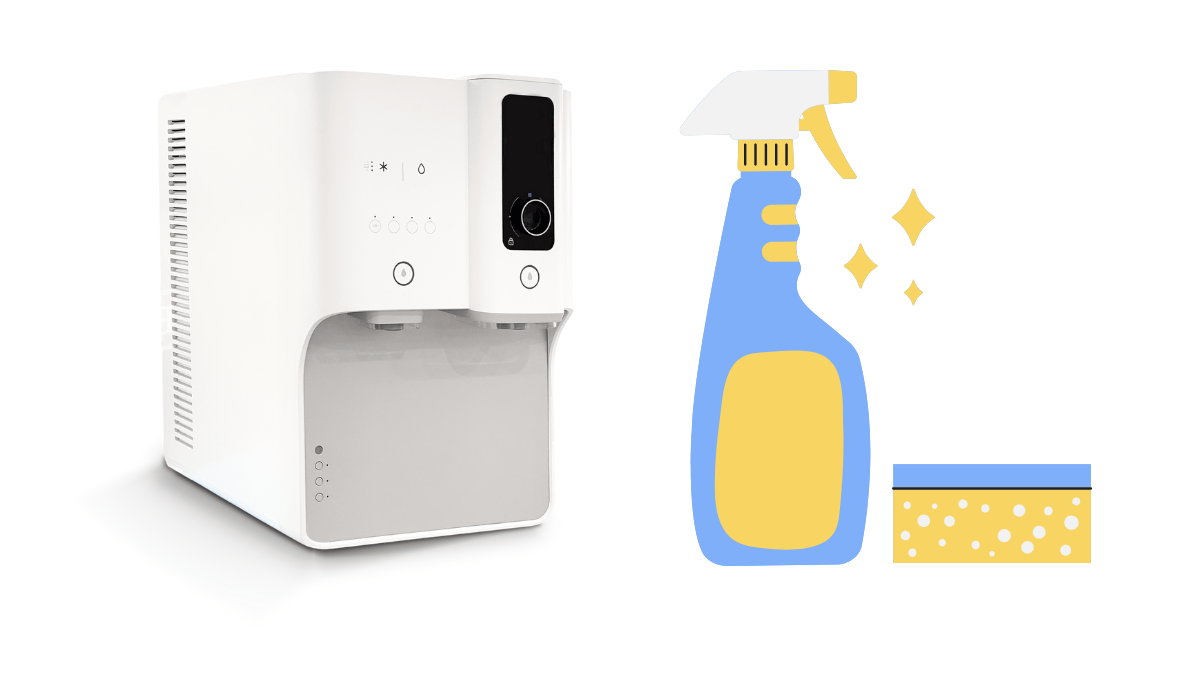
Importance of Cleaning Filters
A dirty filter is like a blocked sink—it just won’t do its job properly. Over time, limescale, bacteria, and trapped contaminants build up, making your water taste worse and slowing the flow.
Without regular cleaning, you could be drinking water that’s not as fresh as it should be. Worse still, a neglected filter can become a breeding ground for bacteria.
Cleaning your filter is a quick fix that keeps your water tasting crisp and ensures your dispenser lasts longer.
Tools and Supplies Needed
Before you get started, grab these simple household items:
- White vinegar – great for dissolving mineral build-up
- Baking soda – a natural scrubber for stubborn dirt
- A soft-bristled brush or sponge – to clean without damage
- Gloves – to keep your hands clean and safe
- Clean cloths – for wiping down parts
- Warm water – for rinsing everything thoroughly
Now, let’s dive into how to clean different types of filters.
Cleaning Different Filter Types
Activated Carbon Filters
Activated carbon filters are popular because they absorb chlorine, odours, and impurities. But they don’t last forever—without cleaning, they get clogged and stop working effectively.
Backwashing and Rinsing
- Remove the filter from the dispenser.
- Run clean water through it in the opposite direction of normal flow.
- Gently shake it to loosen any trapped particles.
- Keep rinsing until the water runs clear.
Soaking Techniques
- Mix equal parts white vinegar and water in a bowl.
- Submerge the filter and leave it for 30 minutes.
- Rinse thoroughly under running water before reinstalling.
Ceramic Filters
Ceramic filters do a brilliant job of trapping bacteria and fine particles. But because they have a porous surface, they need deep cleaning to stay effective.
Scrubbing and Sanding
- Use a soft brush or sponge to gently scrub the surface.
- For tougher buildup, lightly sand the outer layer with fine-grit sandpaper.
- Rinse under cool running water.
Boiling and Sanitisation
- Bring a pot of water to a boil.
- Submerge the ceramic filter for 5-10 minutes to kill bacteria.
- Let it air dry completely before reinstalling.
Reverse Osmosis Filters
Reverse osmosis (RO) filters use a special membrane to remove contaminants. They require a bit more care to keep them working properly.
Flushing the Membrane
- Remove the RO filter and rinse it under cold water.
- Reinstall it and run water through the system for 5-10 minutes to flush out any debris.
Professional Cleaning
Some RO membranes need special cleaning solutions. If your filter still isn’t performing well after flushing, check the manufacturer’s guide or consider professional servicing.
Step-by-Step Cleaning Procedures
Disassembling the Filter Housing
- Unplug the dispenser and switch off the water supply.
- Carefully remove the filter housing and set it aside.
- Empty any leftover water inside the unit.
Cleaning Individual Filter Components
- Soak reusable filters (carbon, ceramic) in a cleaning solution.
- Scrub gently with a soft brush to remove trapped particles.
- Rinse well under running water to remove all residue.
Reassembling the Filter
- Make sure all components are completely dry.
- Reinsert the cleaned filter into the dispenser.
- Run clean water through the system for 5 minutes before using.
Cleaning Frequency and Maintenance
Understanding Filter Lifespan
Most countertop water dispenser filters need cleaning every 2-3 months. However, some factors can make them wear out faster:
- Hard water – leaves mineral deposits, shortening lifespan
- Frequent use – the more water you filter, the faster it clogs
- Manufacturer guidelines – always check specific recommendations
Signs of Filter Degradation
Not sure when it’s time to clean or replace your filter? Watch out for these warning signs:
- Water flows more slowly than usual
- Odd taste or smell in your drinking water
- Visible sediment or particles in the water
- Mould or slime forming on the filter
If cleaning doesn’t solve the problem, it’s time to replace the filter.
Addressing Common Concerns
Cleaning Solutions and Safety
- Stick to natural cleaners – vinegar, baking soda, and mild detergent work best.
- Avoid harsh chemicals – bleach or strong disinfectants can damage filters.
- Always rinse thoroughly – any leftover cleaning solution can affect water taste.
- Let filters dry completely – damp filters can attract bacteria.
Water Quality After Cleaning
After a proper clean, your water should taste fresher and flow more smoothly. If it still tastes off, your filter might be too old, or your tap water may contain more contaminants than usual.
If in doubt, check your filter’s expiry date and consider a replacement.
Conclusion: Ensuring Clean Water with Proper Filter Maintenance
Keeping your countertop water dispenser filter clean isn’t difficult, but it makes a huge difference.
By staying on top of maintenance, you’ll enjoy clean, crisp-tasting water while extending the life of your dispenser. Plus, you’ll save money by reducing the need for replacements!
Make cleaning part of your routine, and you’ll never have to worry about murky or bad-tasting water again.
More Countertop Water Dispenser info we think you'll love
Step-by-Step Guide to Installing Your Countertop Water Dispenser
Routine Maintenance Tips to Extend the Life of Your Water Dispenser
Troubleshooting Common Issues with Countertop Water Dispensers
How Often Should You Clean Your Countertop Water Dispenser?
How long does a countertop water filter last?
How do you clean a countertop water filter?
Countertop Water Dispenser Maintenance Tips
Best Countertop Water Dispenser Maintenance Routine
Countertop Water Dispenser Troubleshooting Guide for Common Issues
Leave a comment